Send your photographer’s PSPA-compliant CD to Memory Book by Jostens. Let Memory Book by Jostens know how you would like your portraits sorted (by grade or by teacher).
Let Memory Book by Jostens know if you want to place teacher portraits on both the Staff /Faculty Page AND Class Pages.
Set your digital camera to take high resolution photos. If scanning photos, set the resolution at 300 DPI.
Select the digital images you will use in the yearbook and organize those images
on your computer.
Keep a copy of all images sent to Memory Book by Jostens or uploaded to Memory Book Online™.
Create a Page Ladder BEFORE you start building your yearbook.
Print a proof of your portraits BEFORE you flow class pages. Make any changes to portraits BEFORE you flow the class pages. See the Class Pages section of this manual for more information
Submit all your pages AND send all your forms/payment by your deadline in order to get your yearbook on time.
Color correct images before uploading to Memory Book Online™. Make sure that images, especially class portraits, are not too dark, too light, or color cast.
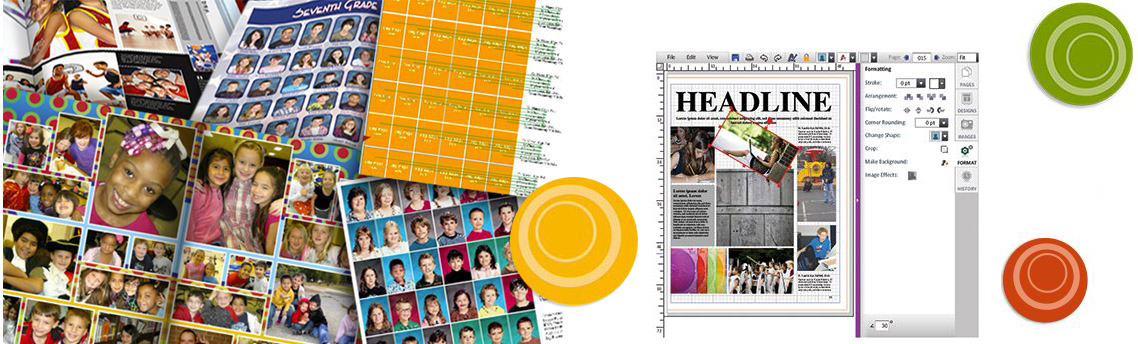
Watch out for text that may be difficult to read. Use light-colored text on dark backgrounds and dark-colored text on light backgrounds. You may also lighten elements used as backgrounds using the Tint tool under the Format tab.
Double check the following when creating your class portrait pages:
There are no duplicate or missing portraits.
Each portrait has a first name and a last name.
Names and portraits match.
Portrait sizes are consistent and are lined up and spaced evenly.
Teachers are not flowed in with the students.
Each class portrait page’s grade is identified and is placed in the proper order in the yearbook.
Use the Memory Book Online™ spelling checker.
Watch out for faces and text placed outside of the margins because these may get trimmed off. If you are unsure of where the margins are located, please contact technical support at 1-877-302-3140.
To avoid unwanted duplicate candid images, look at the bottom left corner of an image’s thumbnail under the Images tab before placing on a page. If there is a green check mark, this means that this image has already been placed in one or more other pages.


 © 2025 Memory Book by Jostens